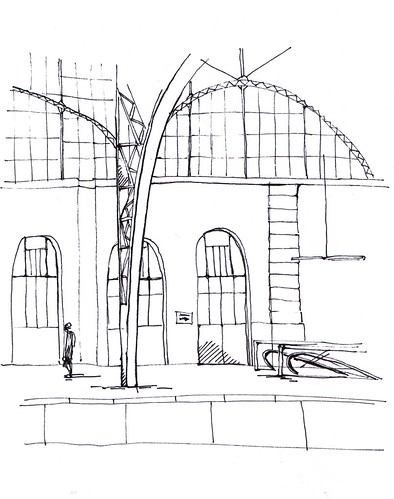
Weekend Gridding Assignment
Due Tues Feb 22, 2011
WHAT: 1 drawing in pencil, made from gridded images or photographs
PAPER: Drawing paper, not newsprint or typing paper
SIZE: 8 x 12
MEDIUM: Drawing pencils (NOT charcoal pencils)
OBJECTIVE: One well-resolved (finished, completed) drawings that leverage the full range of values (dark to lights) that we have explored in class. In addition, pay attention to composition, line quality, value, and accuracy (line variety- width, weight, accuracy). You will use the gridding technique as a way in which to “blow up” or “scale” and image larger than life.
Work must be tacked to wall at the beginning of class (with tape taken off the drawings). If you cannot attend class then your must give your work to someone else to get full credit for assignment (regardless of excuse). Be prepared to critique.
How to Grid: Always use a ruler and straightedge
SIMPLE INSTRUCTIONS
1) You must keep proportion in mind, measure your reference image, it should be 4 x 6 for this assignment
2) Measure paper 8 x 12
3) Grid off reference image at one inch intervals
4) Your 8 x 12 drawing will be at a 1:2 ratio, reference : finished drawing
5) Grid off 8 x 12 at two in intervals
6) Draw each square as from reference, using values and line quality. If you are drawing figures or faces, try turning the reference image upside down to trick your brain.
DETAILED INSTRUCTIONS
• Choose a clear image. You may need to scan and print out a small photograph.
• Decide on your grid size (in this case, 2” sq for the final, 1” sq for the photo)
• Draw the grid, making sure your lines are fine, straight and clear. A valuable photo can be placed in a plastic sleeve or wrapped in cling film.
• Using a sharp, medium pencil, lightly draw a grid on your paper. You can enlarge or reduce the size, but don't do it mathematically. You are judging rough proportions by eye, not measuring distances.
• To draw the image, you may wish to work methodically from one side of the image, or just begin with the most obvious features.
• Edges and strong changes of tone make clear shapes in the photograph. Where one of these shapes crosses a grid-line, count how many grid-lines from your reference point the grid-line is.
• Judge how far the shape is along the square, then count across and mark this at the same point on the grid-line in your drawing.
• Do the same again, further along the same shape. Mark the point where the shape meets another grid-line, then join the two, following any bumps or curves in the shape in the photograph.
• Make sure you have drawn outlines for all the key parts of your drawing. Less defined areas, such as a patch of shade or highlight, may be roughly indicated too.
• Carefully erase your grid lines, repairing outlines as you go. Now you are ready to start shading your drawing. Take your time, and make sure you use a full range of tone.
Subscribe to:
Post Comments (Atom)

No comments:
Post a Comment